
Manual Transmission Simulator
Hold keys down to press pedals. Release to lift foot.
Current Status
- Gear: Neutral
- Engine: Running
- Speed: 0 km/h
- Handbrake: Applied
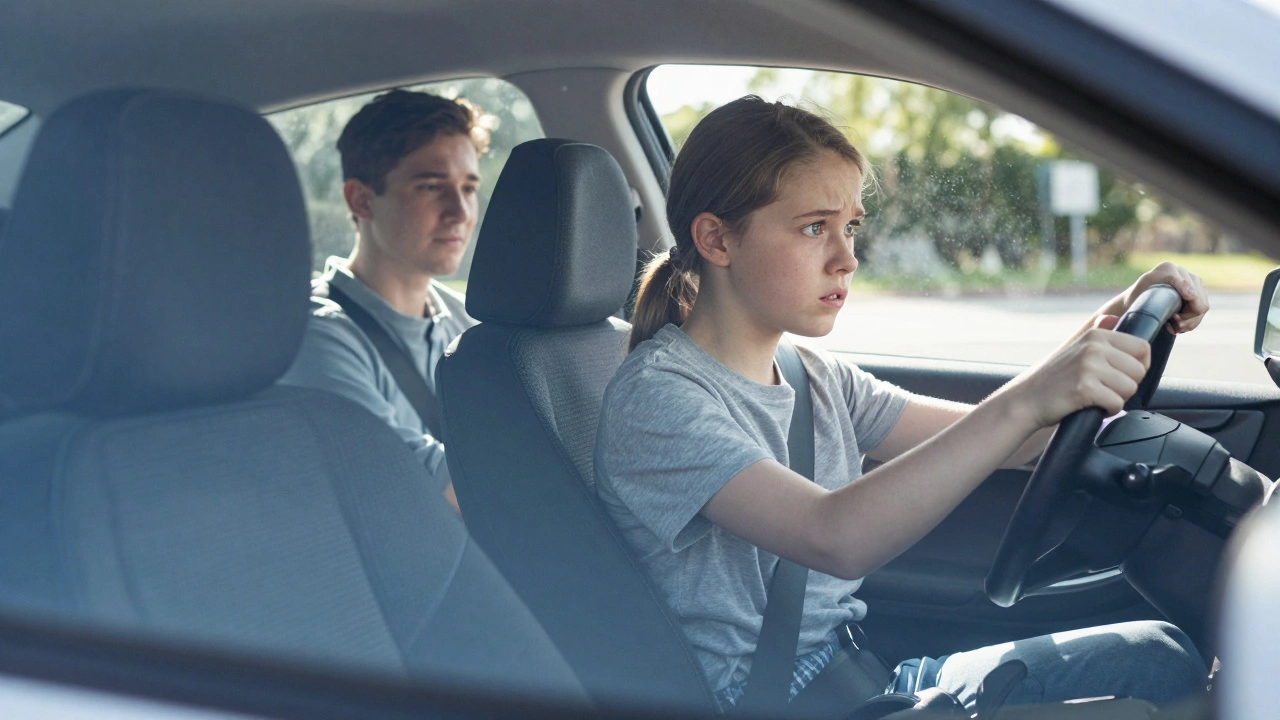
It’s 9 a.m. on a Tuesday. You’re sitting in the passenger seat of a dual-control car, your hands gripping the door handle so hard your knuckles are white. The engine hasn’t even started yet, but your heart is already racing. This is the universal experience of every new driver. That first lesson feels less like education and more like an interrogation of your nerve endings.
You might be wondering if you’re going to stall the car immediately, hit a curb, or embarrass yourself in front of a stranger who holds your future license in their hands. Here is the truth: your instructor expects none of that. In fact, they expect you to know absolutely nothing about moving the vehicle. Their job isn’t to judge you; it’s to build a foundation of safety and muscle memory from scratch.
The Pre-Drive Checklist: Getting Comfortable Before Moving
Before the car moves an inch, your instructor will spend the first ten to fifteen minutes talking. This isn’t wasted time. It’s critical setup. You’ll adjust your seat, mirrors, and steering wheel. It sounds boring, but getting this right prevents back pain later and ensures you can actually see what’s happening around you.
Your instructor will explain the dual controls, which are additional pedals installed in the passenger footwell that allow the instructor to brake or accelerate instantly if you make a mistake. Knowing these exist should calm your nerves. If you panic and mash the accelerator instead of the brake, your instructor can stop the car faster than you can react. It’s a safety net, not a punishment device.
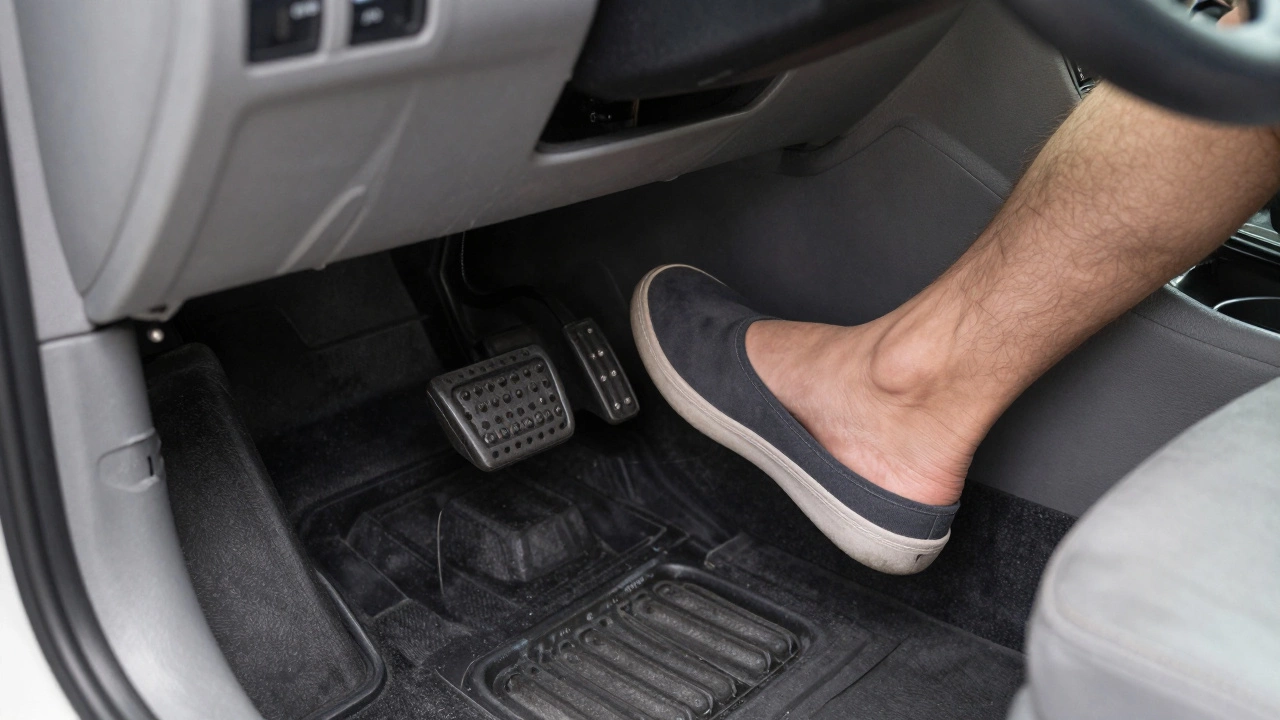
You’ll also learn the "MSS" routine: Mirrors, Signal, Speed. No, wait-that’s for maneuvers. For starting out, it’s just understanding the layout. Where is the handbrake? Which pedal is the clutch, which is the brake, and which is the gas? In a manual car, the clutch is on the left, the brake in the middle, and the accelerator on the right. Memorizing this spatial relationship is your first actual task.
Holding the Wheel: The Nine-and-Three vs. Ten-and-Two Debate
Once you’re comfortable with the buttons and pedals, you’ll touch the steering wheel. Most modern instructors teach the nine-and-three position (hands at 9 o’clock and 3 o’clock) rather than the old-school ten-and-two. Why? Airbags. If you hold the wheel at ten-and-two and deploy an airbag, the force can injure your arms or face. At nine-and-three, your hands are clear of the blast zone.
You’ll practice turning the wheel without taking your eyes off the road ahead. This seems impossible at first. You’ll likely find yourself staring directly at the center of the wheel as you turn. Your instructor will gently remind you to look where you want the car to go, not at the mechanics of how you’re getting there. This concept-looking ahead-is the single most important skill you’ll learn today. If you look at the tree, you’ll hit the tree. If you look through the gap between the trees, you’ll drive through the gap.
Understanding the Clutch: The Tricky Part
If you’re learning on a manual transmission, the clutch is the big boss. It’s the component that connects and disconnects the engine from the wheels. Without it, the engine would stall every time you stopped. With it, you can start moving smoothly.
Your instructor will have you find the "bite point." This is the specific spot where the clutch begins to engage and transfer power to the wheels. To find it, you press the clutch down fully, put the car in first gear, and slowly lift your foot until you feel the car shudder slightly or hear the engine note change. That tiny window is where all the action happens.
Expect to stall the car. Yes, really. Stalling is part of the process. It means the engine speed didn’t match the wheel speed. When it happens, don’t apologize profusely. Just restart the engine, reset the clutch, and try again. Your instructor has seen it thousands of times. They won’t care. What they *will* care about is whether you understand *why* it happened.
Moving Off: The First Real Test
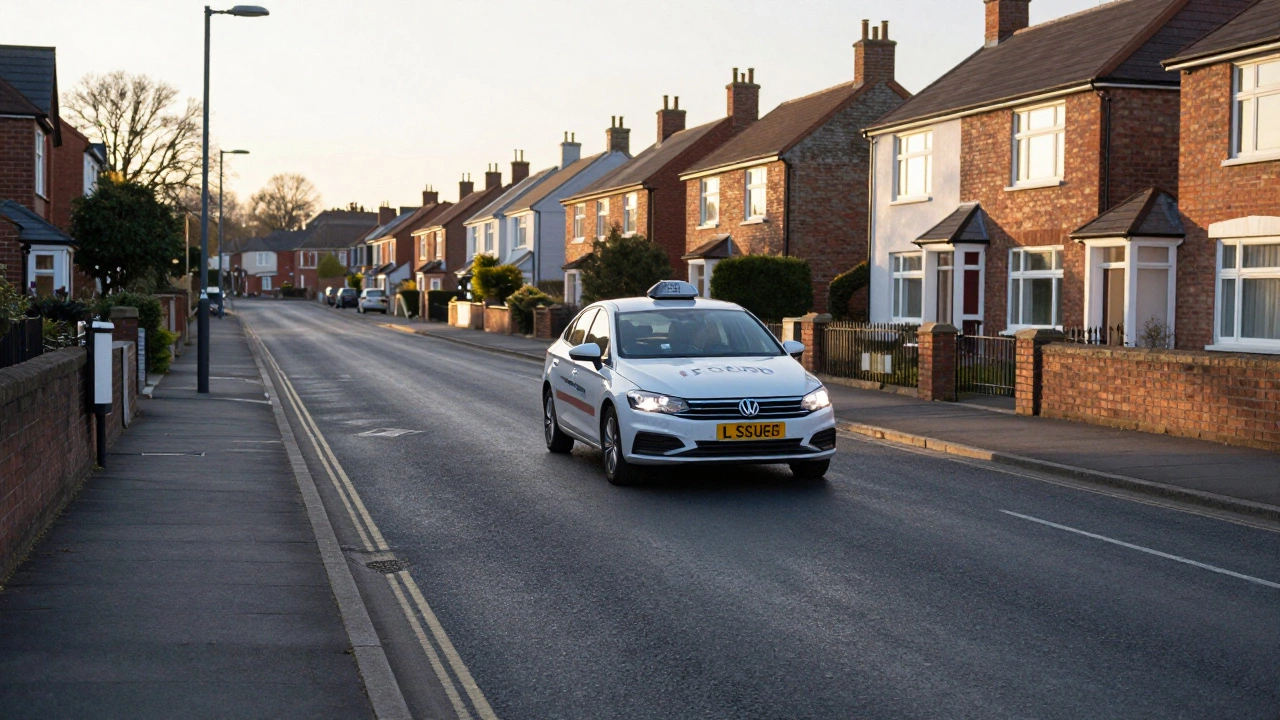
Now comes the moment you’ve been waiting for: making the car move. You’ll likely do this in an empty parking lot or a quiet residential street. The sequence is strict:
- Press the clutch down.
- Select first gear.
- Check your mirrors and blind spots.
- Signal if necessary.
- Find the bite point.
- Gently release the handbrake.
- Add a tiny bit of gas while easing off the clutch further.
It sounds simple, but coordinating three pedals with one foot and two hands requires intense focus. You’ll probably creep forward at a snail’s pace. That’s fine. Control is better than speed. Your goal isn’t to reach 60 km/h; it’s to start and stop without jerking the passengers around or stalling the engine.
Steering and Braking: Keeping It Straight
Once you’re moving, you’ll practice steering in a straight line. It’s harder than it looks. Cars naturally drift. You need to make micro-adjustments to keep centered in your lane. Your instructor will watch your hands closely. Are you crossing them over? Good. Are you pushing and pulling? Better. Are you yanking the wheel with one hand? Bad habit.
Braking is equally crucial. You’ll learn to cover the brake pedal with your right foot when you’re not accelerating. This prepares you to react instantly if something goes wrong. You’ll also practice smooth braking-pressing the pedal gradually rather than slamming it. Smooth inputs lead to smooth stops. Jerky inputs lead to whiplash.
Observation: The Eyes Have It
A huge portion of your first lesson is dedicated to observation. Driving isn’t just about controlling the machine; it’s about predicting what others will do. You’ll be told to check your mirrors every eight to ten seconds. This creates a rhythm. Left mirror, right mirror, center mirror, road ahead. Repeat.
You’ll also learn to scan intersections. Even if you have the right of way, you must check for people who don’t. This habit saves lives. Your instructor will quiz you constantly: "What did you see in the left mirror?" "Is it safe to pull out?" These questions aren’t meant to annoy you. They’re training your brain to automate situational awareness.
Ending the Lesson: Reflection and Next Steps
After an hour or so, you’ll park the car. This might involve reversing into a space or simply pulling over to the curb. Reversing is scary because you can’t see everything. You’ll rely heavily on your mirrors and shoulder checks. Your instructor will guide you verbally: "Turn the wheel left," "Stop," "Straighten up."
At the end, your instructor will debrief. They’ll tell you what went well (you kept the car moving! You checked your mirrors!) and what needs work (you stalled twice, you forgot to signal). Take notes. Ask questions. There are no stupid questions in a driving lesson. If you’re confused about the clutch, ask again. Understanding now prevents accidents later.
| Mistake | Why It Happens | How to Fix It |
|---|---|---|
| Stalling frequently | Lifting clutch too fast or not enough gas | Practice finding the bite point in neutral first |
| Looking down at pedals | Nervousness and lack of muscle memory | Focus on the road; trust your feet |
| Forgetting to signal | Cognitive overload | Create a mental checklist: Mirror, Signal, Maneuver |
| Gripping wheel too tight | Anxiety | Take deep breaths; relax shoulders |
Preparing for the Second Lesson
After your first lesson, you’ll feel tired. Driving mentally exhausts you because every action is conscious, not automatic. Rest before your next session. Review what you learned. Visualize the steps. Did you remember to check your blind spot? Did you find the bite point quickly?
Don’t worry if you felt clumsy. Every expert was once a beginner. The key is consistency. Show up, listen, and practice. Your instructor is your partner in this journey. Use them wisely.
Should I wear special shoes for my first driving lesson?
Yes, wear flat-soled shoes with thin soles. Avoid high heels, boots, or sandals. Thin soles help you feel the pedals better, giving you more precise control over the clutch and brake. High heels can get stuck under pedals, creating a serious safety hazard.
What if I’m extremely nervous during my first lesson?
Tell your instructor. They deal with anxious students daily. Being honest helps them adjust their teaching style. They might start with longer stationary periods to let you acclimate. Remember, anxiety is normal. It usually fades after the second or third lesson as you gain confidence.
Do I need to bring my learner permit to the first lesson?
Absolutely. You cannot legally drive without a valid learner permit or provisional license. Your instructor will check it before starting. Make sure it’s not expired and matches your identity. Also, ensure your L-plates are visible on the car if required by local laws.
Will I drive on busy roads in my first lesson?
Unlikely. Most instructors start in quiet areas like empty parking lots or low-traffic residential streets. This allows you to focus on basic controls without the pressure of heavy traffic. Once you demonstrate competence in these environments, they’ll gradually introduce busier roads.
How long does a typical first driving lesson last?
Most first lessons last between one and two hours. One hour is common for beginners to avoid mental fatigue. Longer sessions can overwhelm new drivers. Quality matters more than quantity. It’s better to have focused, shorter lessons regularly than marathon sessions once a month.