Driving Test Maneuver Trainer
Step 1
Loading...
Common Mistakes to Avoid
Click on mistakes that apply to your situation:
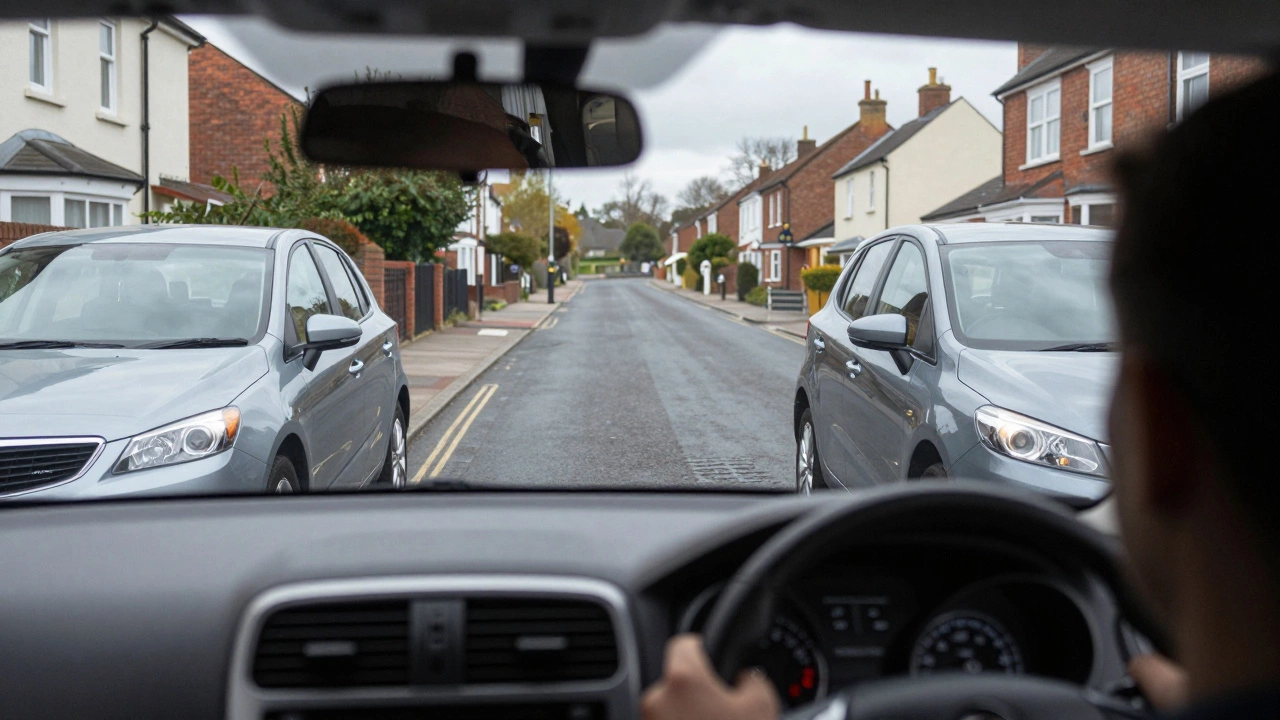
Walking up to the test center, your heart is pounding. You’ve practiced the theory until you could recite it in your sleep. You’ve driven around your neighborhood enough times to know every pothole by name. But then the examiner says those three words that make every learner driver freeze: "Show me how you would..." Suddenly, your mind goes blank. Do you turn left? Right? Check your mirrors first?
If you are taking a driving test in New Zealand or the UK, maneuvering is often the biggest hurdle. It isn't just about moving the car from point A to point B; it is about doing so safely, smoothly, and without hitting anything. In this guide, we break down the four critical maneuvers you need to master. We will look at exactly what they are, why examiners care so much about them, and how you can nail them on your first try.
The Core Concept: Control Over Speed
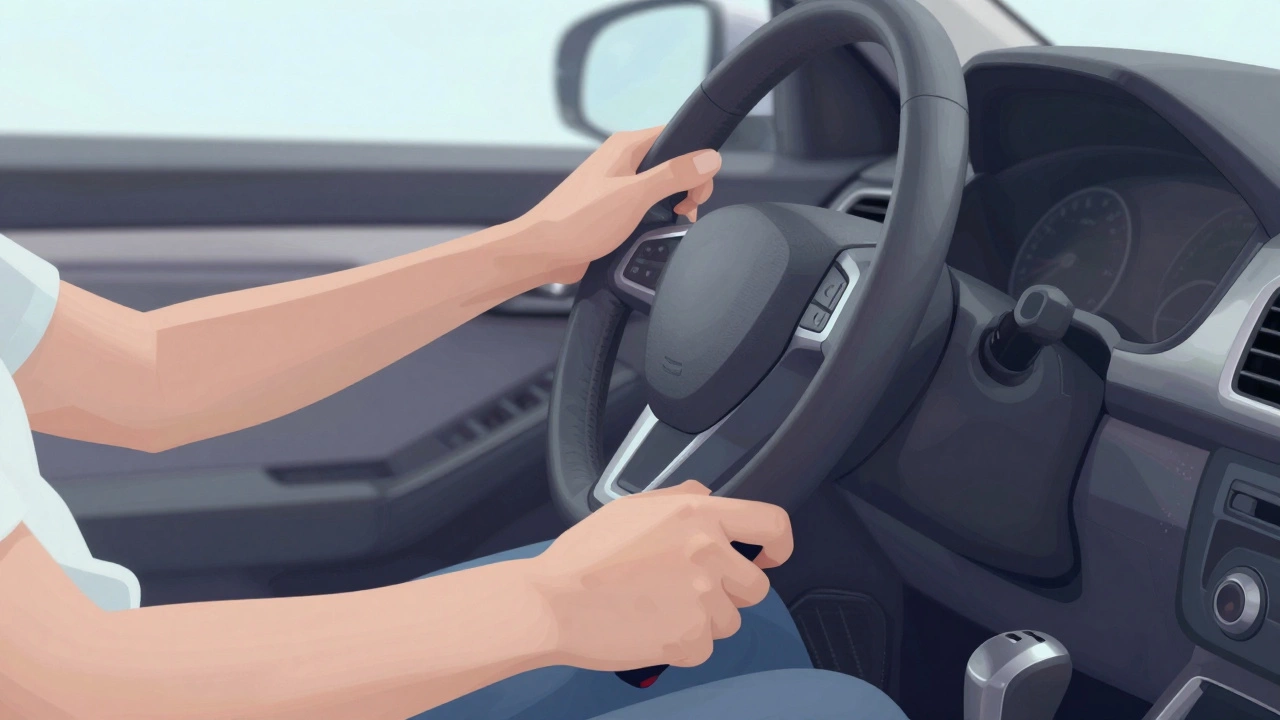
Before we get into the specific moves, you need to understand one thing. Every single maneuver relies on clutch control. If you are driving an automatic, this translates to precise brake and accelerator management. The goal is to move the vehicle so slowly that if a child ran out in front of you, you could stop instantly.
In New Zealand, under the Graduated Licensing System (GLS), demonstrating this level of control is non-negotiable. Examiners aren't looking for speed; they are looking for awareness. They want to see that you are constantly scanning your surroundings using the MSPSL routine-Mirrors, Signal, Position, Speed, Look. If you forget to check your mirrors before starting a maneuver, you fail immediately, regardless of how perfectly you park.
Maneuver 1: Parallel Parking
This is the classic nightmare for new drivers. It is also the most common reason for failure. Parallel parking requires you to fit your car into a space between two other vehicles on the side of the road. It tests your ability to judge distances and use reference points accurately.
| Step | Action | Key Detail |
|---|---|---|
| 1 | Pull up alongside the car in front | Leave about 1 meter of space between your car and theirs. |
| 2 | Check safety | Look over both shoulders and check mirrors. Ensure no traffic is coming. |
| 3 | Turn wheels fully right | Reverse slowly while keeping your head turning to check blind spots. |
| 4 | Straighten when aligned | When your rear bumper passes their front bumper, straighten the wheel. |
| 5 | Turn wheels fully left | Continue reversing until you are parallel with the curb. |
| 6 | Final adjustment | Move forward slightly to center yourself in the space. |
The trick here is not to rush. Many students panic because they think they are blocking traffic. Remember, if you are too slow, you might lose marks for efficiency, but if you hit another car, you fail. Use the clutch bite point to creep forward and backward. Also, remember to put your handbrake on when you finish, especially if there is any slope.
Maneuver 2: Bay Parking (Pull-In and Pull-Out)
Bay parking is often considered easier than parallel parking, but it has its own traps. This involves pulling into a marked parking space perpendicular to the road. There are two variations: pulling in from the left and pulling in from the right. You must be prepared to do either, as the examiner will choose.
When pulling in from the left, signal left early. Check your mirrors and look over your left shoulder. As you approach the bay, turn the steering wheel gradually. You want to enter the bay smoothly without crossing the lines unnecessarily. When you are straight, apply the handbrake.
The real test comes when pulling out. This is where many people fail. You cannot just reverse blindly. You must:
- Check your mirrors.
- Look over your left shoulder to check for cyclists or pedestrians.
- Signal right to indicate you are leaving the bay.
- Reverse slowly until you are clear of the bay.
- Then drive forward, signaling left if necessary to rejoin traffic.
A common mistake is forgetting to signal right before reversing out. To the examiner, this looks like you don't intend to leave the bay, which is confusing and unsafe. Always communicate your intentions clearly.
Maneuver 3: Emergency Stop
This maneuver sounds simple: stop the car quickly. However, it is less about speed and more about reaction and technique. The examiner will ask you to perform an emergency stop, usually simulating a hazard appearing suddenly in front of you.
Here is the correct sequence:
- Brake hard: Press the brake pedal firmly and quickly.
- Clutch down: Once the car has stopped or is about to stall, press the clutch in to prevent the engine from dying.
- Handbrake: Apply the handbrake to secure the vehicle.
- Select neutral: Put the gear stick in neutral.
- Release pedals: Take your foot off the brake and clutch.
- Restart: When told to proceed, check mirrors, signal, select first gear, and pull away smoothly.
The key here is not to stall the engine. If you brake without pressing the clutch in time, the car jerks and stops abruptly. While this isn't always a fail, it shows poor control. Aim for a smooth but rapid stop. Also, ensure you don't lock the brakes if your car doesn't have ABS (Anti-lock Braking System), though most modern cars do.
Maneuver 4: Reversing Around Three Corners
This maneuver, sometimes called "reverse turn," tests your ability to control the car in reverse while changing direction. You will be asked to reverse from one side of the road to the other, effectively making a U-turn in reverse.
Start by positioning your car close to the curb on your side. Signal right. Check your mirrors and look over your right shoulder. Reverse slowly, turning the steering wheel to the right. As your car begins to angle across the road, straighten the wheel. Continue reversing until you are almost parallel with the opposite curb, then turn the wheel left to align with the new lane.
You need to complete this in one continuous movement. If you stop halfway, you may be asked to continue, but excessive stopping suggests you are unsure of your control. Keep your eyes moving. Don't stare at the front bumper; look over your shoulder and use your mirrors to gauge your distance from the curb.
Common Mistakes That Cause Failures
Even if you know the steps, small errors can cost you your license. Here are the top reasons learners fail these maneuvers:
- Lack of observation: Not checking mirrors or blind spots before moving.
- Stalling: Letting the engine die during clutch control exercises.
- Mounting the curb: Hitting the curb with your tires is a major fault.
- Incorrect signaling: Forgetting to signal or signaling too late.
- Slow progress: Taking too long can result in a minor fault for inefficient driving.
In New Zealand, the licensing authority is strict about safety. If you create a dangerous situation, even during a maneuver, you will fail. Always prioritize safety over perfection. If you realize you are going to hit the curb, stop immediately. It is better to stop and restart than to cause damage.
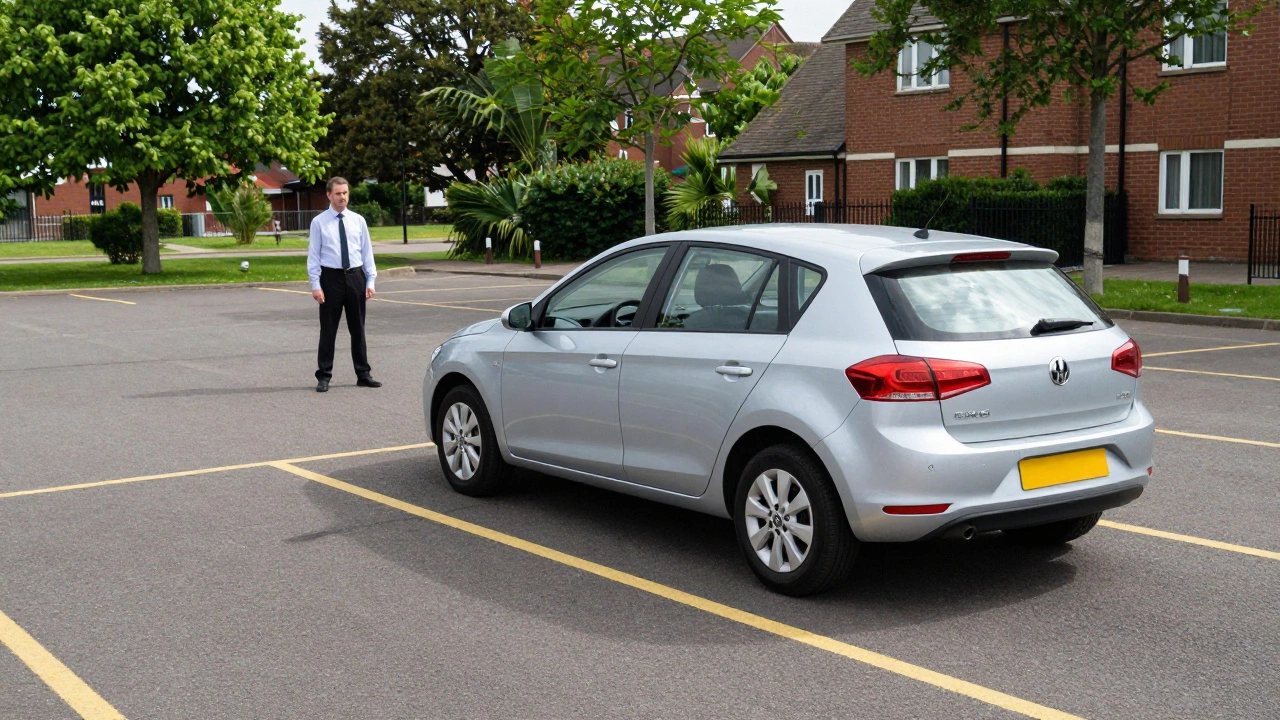
How to Practice Effectively
Practicing in an empty car park is great, but it doesn't replicate the pressure of a real test. Try to practice in quiet residential streets during off-peak hours. Set up cones or use parked cars as markers. Time yourself to build confidence in completing maneuvers efficiently.
Consider taking an intensive driving course. These courses condense lessons into a short period, helping you retain information better. Instructors can give you immediate feedback on your mirror checks and clutch control, which is crucial for mastering these four maneuvers.
Remember, the goal is not just to pass the test but to become a safe driver. These maneuvers are designed to prepare you for real-world situations where you might need to park in tight spaces or stop suddenly to avoid an accident. Master them, and you’ll feel confident behind the wheel for years to come.
What happens if I stall during a maneuver?
Stalling once is usually a minor fault. However, if you stall repeatedly or stall while moving into traffic, it can become a major fault or even a danger. Always stay calm, restart the engine, and continue the maneuver from where you left off.
Do I need to memorize exact reference points for parking?
Reference points help, but relying solely on them is risky. Different cars have different sizes and sightlines. Learn to use your mirrors and look over your shoulder to judge distance rather than depending on a fixed point on the dashboard.
How long should I take to complete a parallel park?
There is no strict time limit, but aim to complete it within 2-3 minutes. Taking too long can lead to inefficiency faults. Practice until you can do it smoothly and confidently without hesitation.
Is an intensive driving course worth it for learning maneuvers?
Yes, especially if you struggle with consistency. Intensive courses provide focused practice on weak areas like clutch control and maneuvering. They help build muscle memory faster than sporadic weekly lessons.
What if I mount the curb during the test?
Mounting the curb is a serious error. It can result in a major fault or immediate failure depending on the severity. Always adjust your position carefully and stop if you feel you are getting too close to the edge.