Driving Test Readiness Simulator
Test Simulation Inputs
Select the number of errors you made during a practice run to see if you would have passed.
Ready to Simulate?
Adjust the sliders to match your performance and click "Simulate Result" to see your outcome.
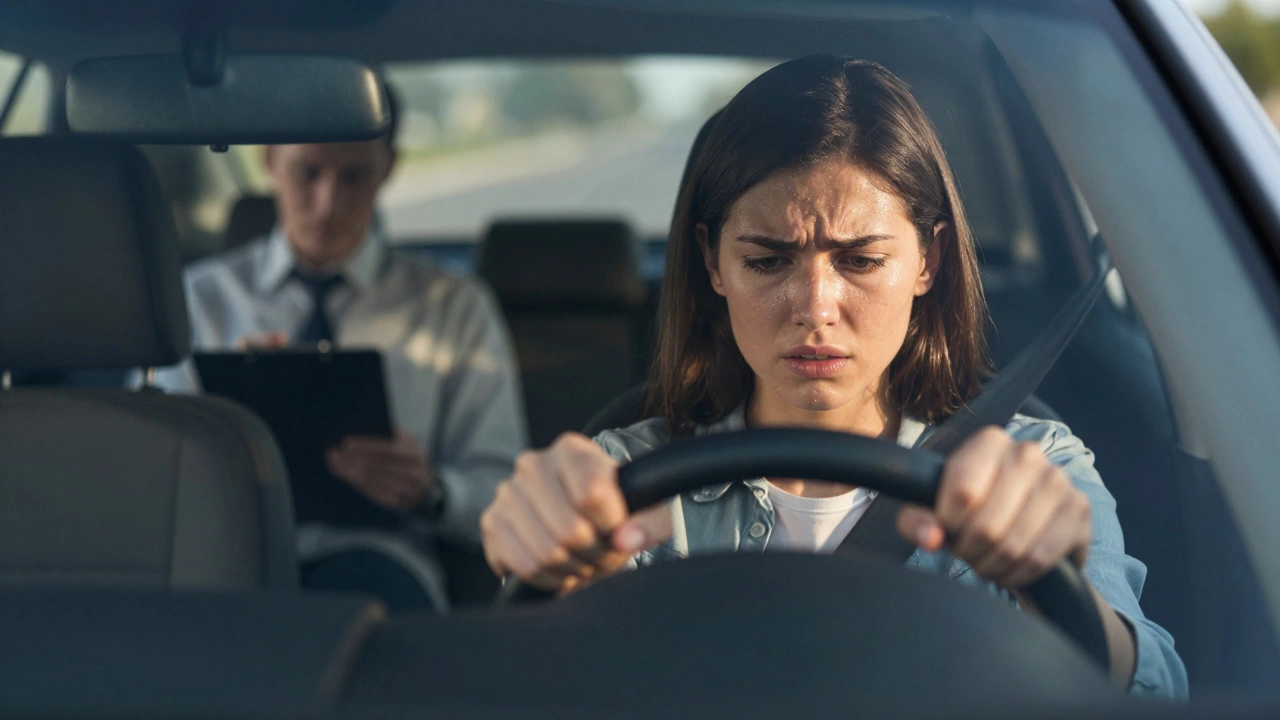
There is nothing quite like the knot in your stomach when you pull up to the testing center. You know the rules. You’ve practiced the maneuvers. But suddenly, your hands feel sweaty, and your mind goes blank at the sight of the examiner’s clipboard. The difference between passing and failing often isn’t skill-it’s mindset. Most learners fail not because they can’t drive, but because they panic under pressure or miss small details that signal confidence to the examiner.
The best advice for a driving test boils down to three pillars: preparation, presentation, and perception. If you master these, you transform from a nervous student into a competent driver who happens to be taking a test. Let’s break down exactly how to handle every part of the process so you walk away with your license.
Master the Pre-Test Routine
Your performance starts before you even touch the steering wheel. Examiners are trained to look for signs of readiness and responsibility. One of the first things they check is whether you can perform the vehicle safety checks correctly. In many jurisdictions, this includes asking if you want to answer questions about your car or performing a visual inspection.
Don’t wing this. Know your vehicle. Before the test day, practice explaining how you check tire pressure, wiper fluid, headlights, and oil levels. Use specific language. Instead of saying “I check the tires,” say, “I visually inspect the tires for cuts or bulges and check the tread depth using a gauge.” Specificity shows competence. If you’re unsure, ask the examiner politely. It’s better to ask than to guess wrong.
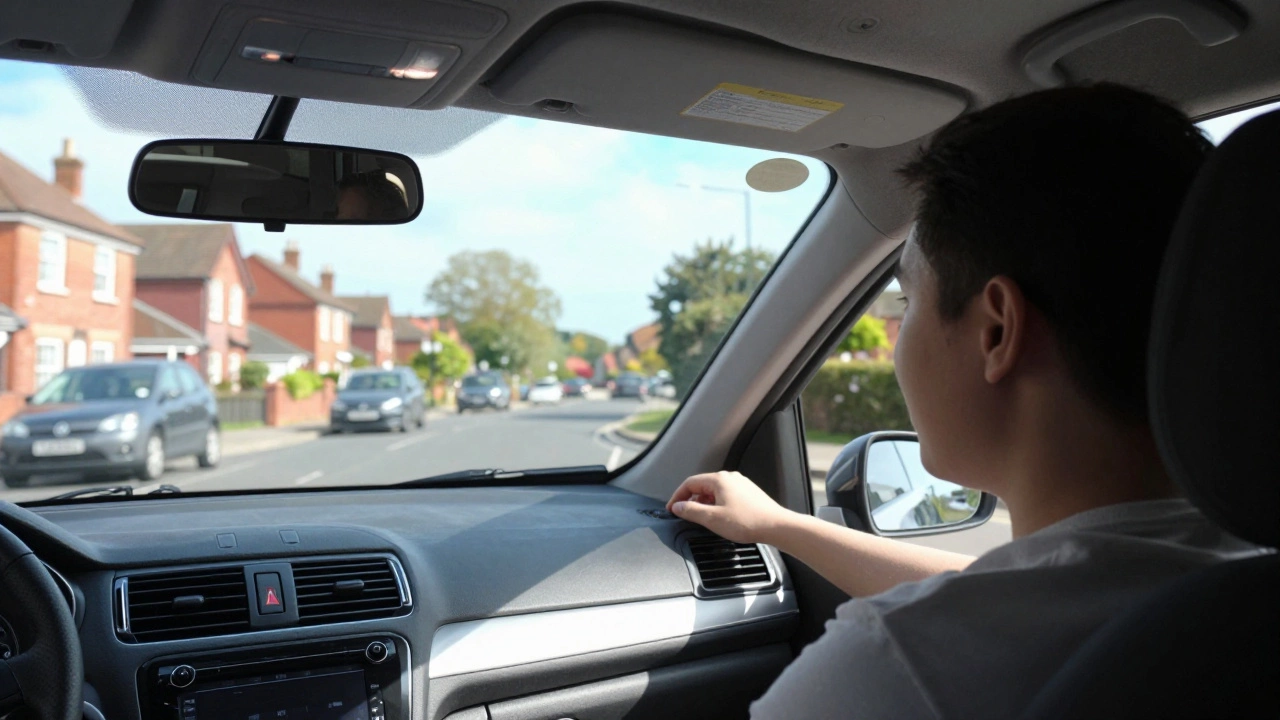
Another critical pre-test step is adjusting your mirrors and seat properly. Do this calmly and deliberately. Check your blind spots by looking over your shoulder, not just glancing at the mirror. This simple habit signals that you understand spatial awareness-a key component of safe driving.
Navigate the Eyesight Check Without Stress
The eyesight check is usually the very first thing after you enter the car. You’ll be asked to read a number plate from a set distance (typically 20 meters for new-style plates, 50 meters for older ones). If you wear glasses or contact lenses, you must wear them during the entire test. Failing this means an immediate fail, regardless of your driving skills.
If you struggle to read the plate, don’t panic immediately. Ask if you can move slightly closer or if there’s another plate available. Sometimes, glare or dirt obscures the view. Stay calm. A little hesitation is normal; a meltdown is not. Remember, this is a basic safety check, not a vision science experiment. As long as you meet the legal standard, you’re good.
Drive Like You Mean It: Confidence Over Perfection
Once you’re on the road, the examiner is watching for smoothness, observation, and decision-making. They aren’t looking for a race car driver; they’re looking for a safe, predictable driver. Here’s where most people trip up: they drive too cautiously. Creeping along at half the speed limit makes you dangerous because other drivers can’t predict your moves.
Maintain a steady speed appropriate for the conditions. If the road is clear and the limit is 30 mph, drive close to 30 mph. Accelerate smoothly out of junctions. Brake gently well in advance of hazards. Sudden movements suggest lack of control. Think of your car as an extension of your body-fluid, responsive, and aware.
Use your mirrors actively. Not just when changing lanes, but continuously. Glance at your rearview mirror every 5-10 seconds. Signal early enough to give other road users time to react. Late signaling is one of the most common minor faults. If you signal too late, correct it mentally and do better next time. Don’t dwell on mistakes; focus on the next action.
Handle Maneuvers with Precision and Calm
Maneuvers like parallel parking, turning in the road, or pulling up on the left are high-stress moments. Examiners watch closely here because these tasks require coordination, observation, and spatial judgment. The secret? Slow down, but don’t stall. Stalling once is usually a minor fault, but stalling twice or losing control is a major fail.
Before starting any maneuver, perform a full observation routine. Look behind, check mirrors, indicate, and then execute. Take your time. There’s no rush. If you need to stop mid-maneuver to reassess, do it safely. Better to take five extra seconds than to hit a curb or another car.
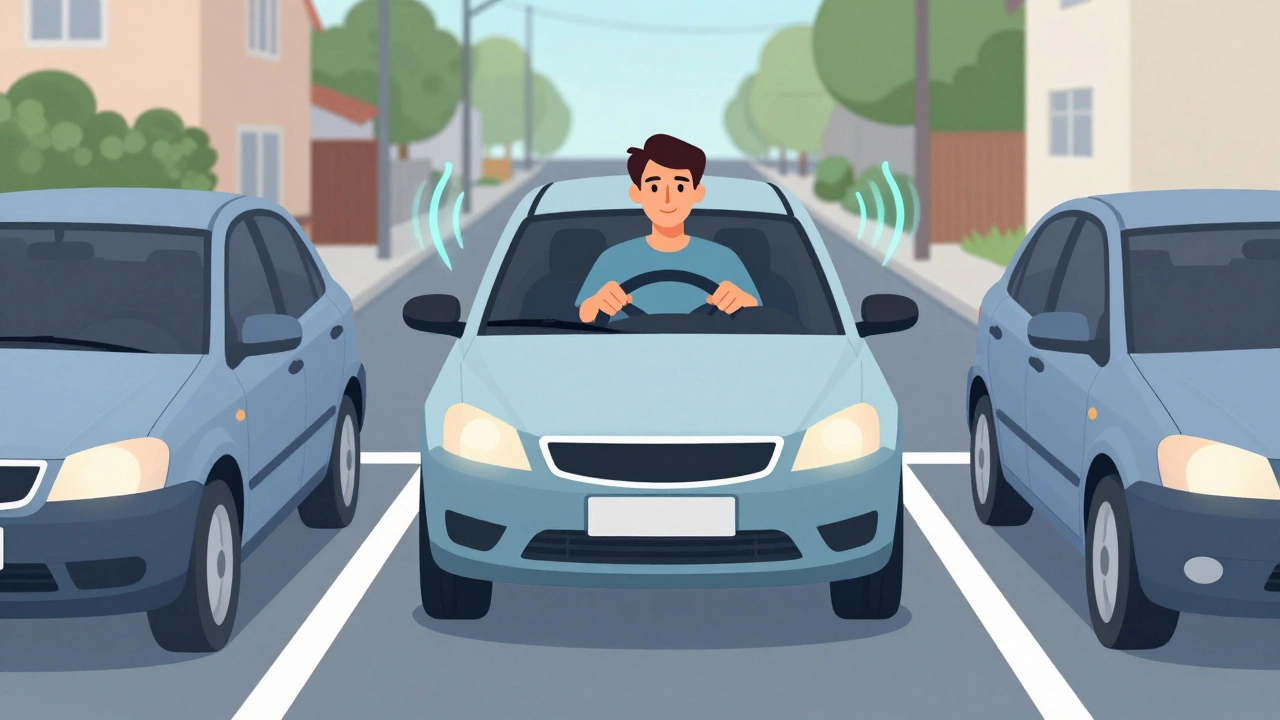
For parallel parking, aim to leave about one car length gap between your front bumper and the car ahead. Use reference points consistently. Practice until muscle memory takes over. On test day, trust your training. Don’t second-guess yourself halfway through.
Independent Driving: Show You Can Navigate Alone
Most tests include an independent driving section where you follow sat-nav directions or traffic signs for about 10 minutes. This tests your ability to make decisions without constant instruction. Turn off the voice prompts if allowed, or rely solely on the screen. Pay attention to road signs-they override sat-nav instructions sometimes.
If the sat-nav gives bad advice (like telling you to turn into a river), use common sense. Safely ignore it and continue following the route logically. Explain your reasoning briefly if needed. Examiners appreciate drivers who think critically rather than blindly following technology.
Stay relaxed during this phase. Breathe deeply. Keep your hands at ten and two. Scan the road ahead, not just the dashboard. Demonstrate that you can handle real-world navigation confidently.
Reverse Around and Pull-Up Exercises
These exercises test your ability to position the car accurately while maintaining observation. Reverse around involves turning the car 180 degrees in a narrow space. Pull-up on the left requires stopping neatly beside the curb within 30 centimeters.
Key tip: Always check blind spots before reversing. Look over both shoulders. Move slowly. Use hand-over-hand steering technique for precision. If you overshoot, correct gradually. Don’t jerk the wheel. Smooth corrections show control.
When pulling up, align your side mirror with the curb line. Stop when your door is parallel to the curb. Engage the handbrake firmly. Shift into neutral (or park for automatics). These small details add up to a professional impression.
Dealing with Nervousness: Practical Techniques
Nerves are normal. Even experienced instructors get butterflies. The goal isn’t to eliminate nerves but to manage them. Try box breathing: inhale for four counts, hold for four, exhale for four, hold for four. Repeat three times before entering the car.
Visualize success. Imagine yourself completing each maneuver flawlessly. Positive visualization reduces anxiety and improves performance. Avoid caffeine before the test-it increases jitteriness. Eat a light meal to stabilize blood sugar.
If you feel overwhelmed during the test, pause. Take a breath. Remind yourself: “I am prepared. I am capable.” Confidence comes from preparation, not perfection.
Common Mistakes That Cost You Points
- Late signaling: Signal at least 3 seconds before turning or changing lanes.
- Poor observation: Always check mirrors and blind spots before moving.
- Inappropriate speed: Drive too slow or too fast for conditions.
- Stalling repeatedly: One stall is okay; multiple stalls show lack of control.
- Ignoring hazards: Fail to respond to pedestrians, cyclists, or unexpected obstacles.
- Incorrect positioning: Park too far from curb or block traffic unnecessarily.
Avoid these pitfalls by practicing deliberately. Record yourself driving and review footage. Identify patterns in errors. Fix them before test day.
| Error Type | Severity | How to Avoid |
|---|---|---|
| Minor Fault (e.g., late signal) | Low - accumulates to fail if >15 | Practice timing signals with countdown apps |
| Major Fault (e.g., dangerous turn) | High - instant fail if 1+ | Slow down, observe fully, communicate intentions |
| Serious/Dangerous Fault (e.g., hitting pedestrian) | Critical - immediate termination | Never compromise safety for speed or convenience |
After the Test: Feedback and Next Steps
Regardless of outcome, ask for feedback. Examiners provide detailed reports highlighting strengths and areas for improvement. Use this information wisely. If you pass, celebrate-but keep refining your skills. If you fail, analyze what went wrong. Was it nerves? Technical error? Miscommunication?
Book a refresher lesson if needed. Many learners benefit from one final session to polish weak spots. Don’t wait months between attempts. Momentum matters. The sooner you retake, the fresher the experience remains.
Remember, getting your license is just the beginning. Safe driving is a lifelong commitment. Continue learning, stay alert, and respect other road users. Your journey doesn’t end at the testing center-it begins there.
What should I wear to my driving test?
Wear comfortable clothing and flat shoes that allow easy pedal operation. Avoid loose scarves, baggy sleeves, or high heels that could interfere with controls. Dress modestly to project professionalism.
Can I bring music to the driving test?
No. Music distracts both you and the examiner. Silence helps you focus on road conditions and instructions. Some regions prohibit audio devices entirely during tests.
How many minor faults can I have and still pass?
You can accumulate up to 15 minor faults and still pass. However, any single major or serious fault results in an automatic fail. Aim for zero faults to build strong habits.
Should I talk to the examiner during the test?
Only when necessary. Answer questions clearly and concisely. Avoid chatting unless prompted. Professional silence conveys focus and seriousness.
What happens if I stall the car?
One stall is typically a minor fault. Restart calmly without rushing. Multiple stalls or loss of control may result in a major fault. Practice clutch control beforehand to prevent this.